


How to diagnose car AC problems yourself using professional techniques
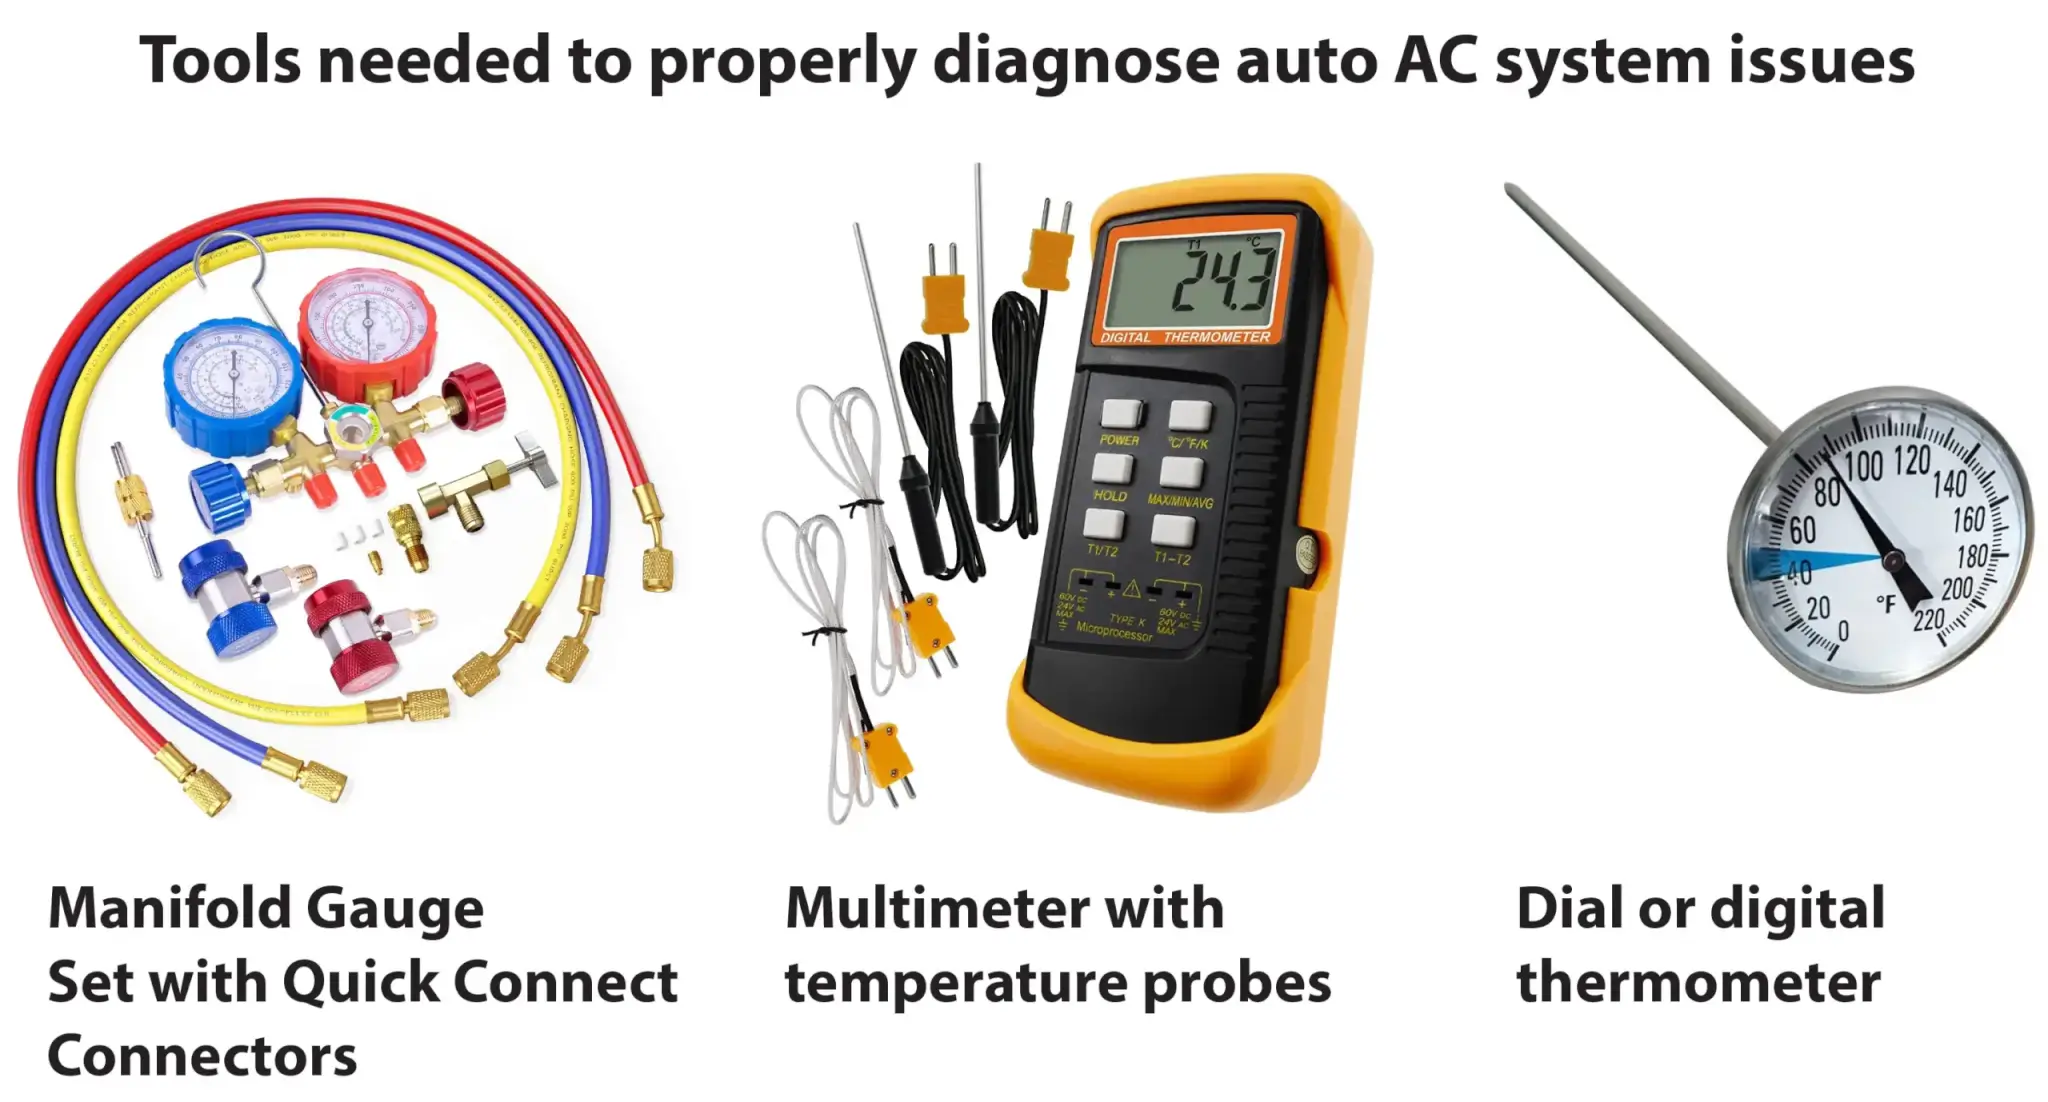
The tools you’ll need to professionally diagnose car AC problems
You’re kidding yourself if you think you can diagnose car AC problems with just the gauge on a DIY recharging kit. First, a low side pressure reading really doesn’t tell you much. At the very least you need high and low side pressures, along with outside and center duct temperatures, and even then, you still don’t have the complete picture of what’s going on in your AC system.
If you’re willing to invest around $100 in tools, you can perform the same diagnostic tests the pros use. Here’s what you’ll need.
What you’ll be testing
High and low side pressure readings
You’ll use the gauge set to determine static (compressor not running ) and operating pressures. However, pressure readings alone can’t definitively pin-point the source of the AC problems.
The condition testing and heat load tests in this article can pin-point the exact cause of your AC problems.
Check for external condenser condition, radiator fan operation, and condenser inlet and outlet temperatures
The condenser coil is located in front of the radiator, directly behind the grille. The condenser’s job is to remove heat from the refrigerant vapor, allowing the refrigerant vapor to condense back into a liquid.
Proper airflow across the condenser fins is critical to condenser operation. So you’ll be checking for clogged condenser fins due to dust, road debris, and bug buildup. You’ll also be checking for proper radiator fan operation. A dirty condenser or poor radiator fan operation can dramatically reduce AC cooling.
Proper vapor and liquid flow through the condenser passages is also critical to AC operation. The small internal passages can clog from deteriorated rubber hoses, metallic debris from a worn compressor, sludge buildup, or excessive oil.
A condenser can look fine from the outside and have good airflow, but not remove enough heat to allow for proper condensation. The only way to definitively test the operation of the condenser is by conducting a heat load test using temperatures probes on the inlet and outlet tubes.
Check for good airflow across the Evaporator and check inlet and outlet temperatures
The evaporator coil is located behind the dash, inside the heater box. The evaporator’s job is to remove heat and moisture from the cabin air. The evaporator doesn’t actually add cold to cabin air, it simply removes heat from the cabin air. Here’s how that happens: The orifice tube or expansion valve meters high pressure liquid refrigerant into the evaporator coil. Hot cabin air blows across the coil, causing the low pressure liquid refrigerant to absorb cabin heat, boil and change into a low pressure vapor.
Ambient and Cabin center duct temperature
By comparing ambient and cabin center duct temperatures, you’ll know exactly how much heat your car’s AC system is removing from the cabin air.
Posted on by Rick Muscoplat
#Diagnose #Car #problems #Ricks #Free #Auto #Repair #Advice #Ricks #Free #Auto #Repair #Advice